
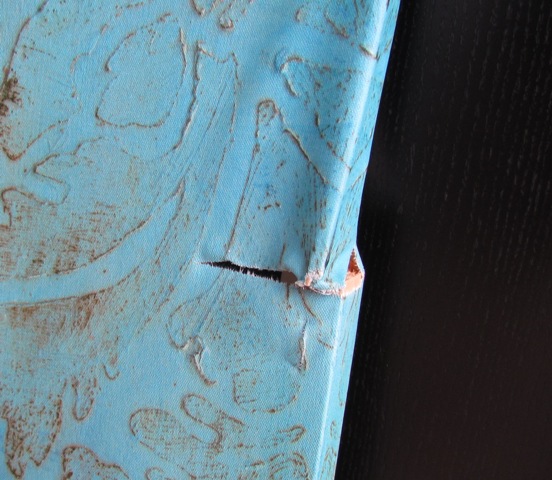
Overstock sent a new one and let me keep the broken one rather than have me return it since they couldn't resell it. So now we've had an extra oversized canvas that's been sitting in our storage unit waiting to be tended to. We couldn't paint over it since the bottom corner had a substantial tear. I decided to instead cover it up and repurpose it into a bright and cheery art piece for the hallway. I had extra fabric I bought from Parons Fabrics awhile ago and stapled the fabric over the canvas. I didn't fix the broken canvas stretcher and although I don't see the difference, M does and he suggests replacing the stretcher so it's not lopsided on one side. We'll see...
 If you're doing something similar, here are some tips:
- Iron the fabric before stretching it over the canvas.
- Staple the top first, then the bottom (pulling the
fabric as tight as possible), finish by stapling the
sides.
- Fold the ends and corners as if you're wrapping
a present to make it nice and neat.
Seriously, this is the easiest DIY project you can do. I was able to finish it in less than an hour. And yes, I did this on our staycation. You're supposed to do what you want on a staycation, right?


No comments:
Post a Comment